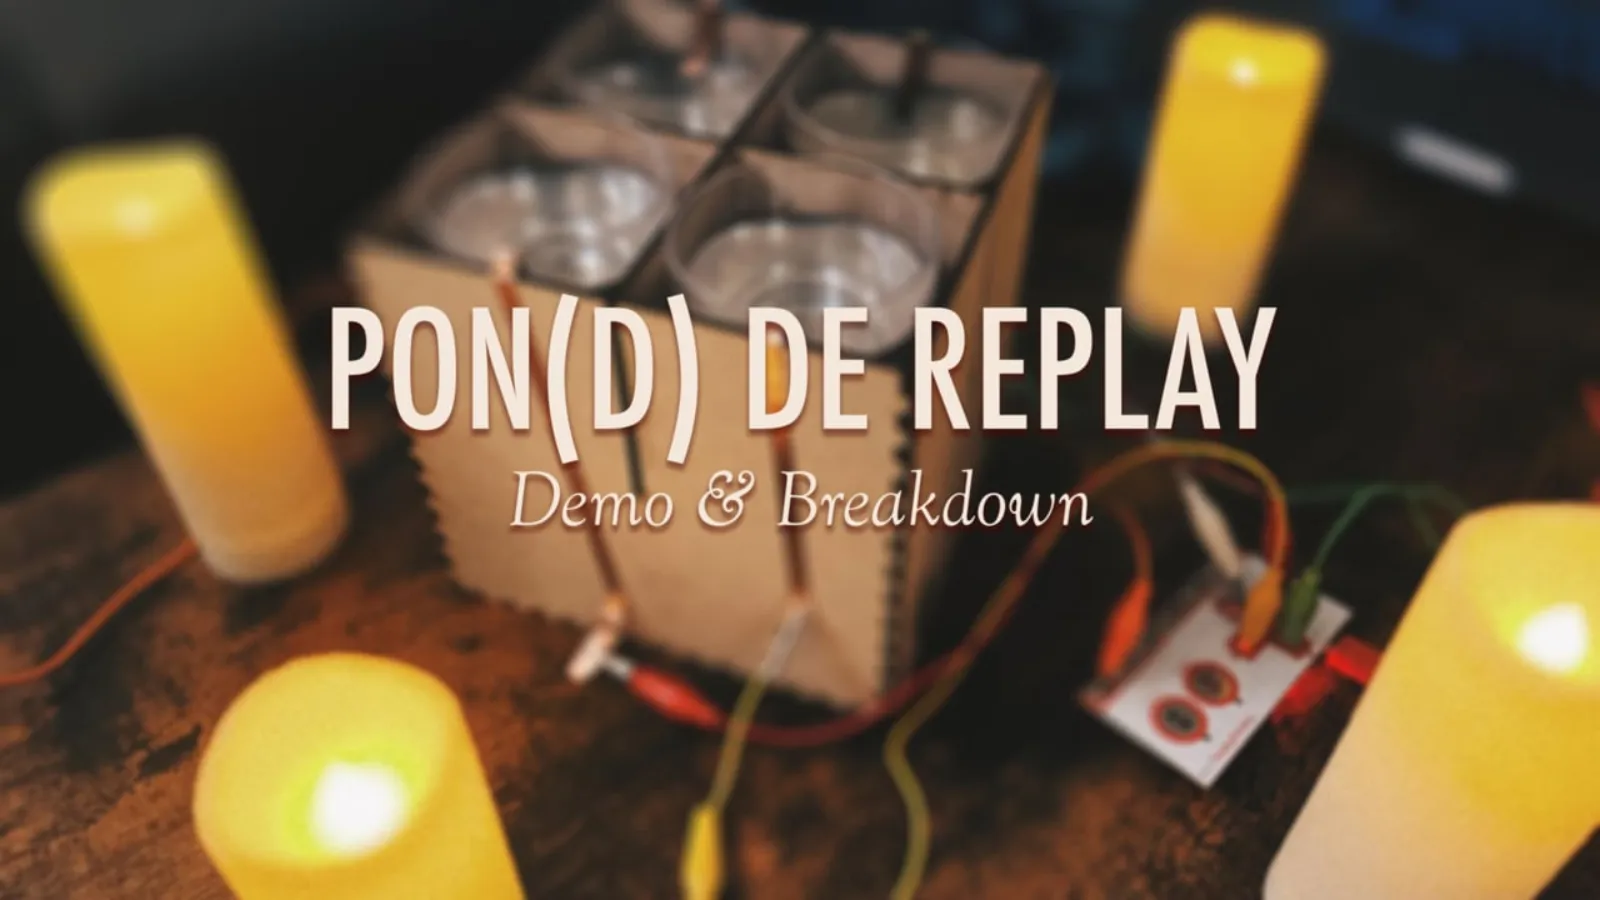
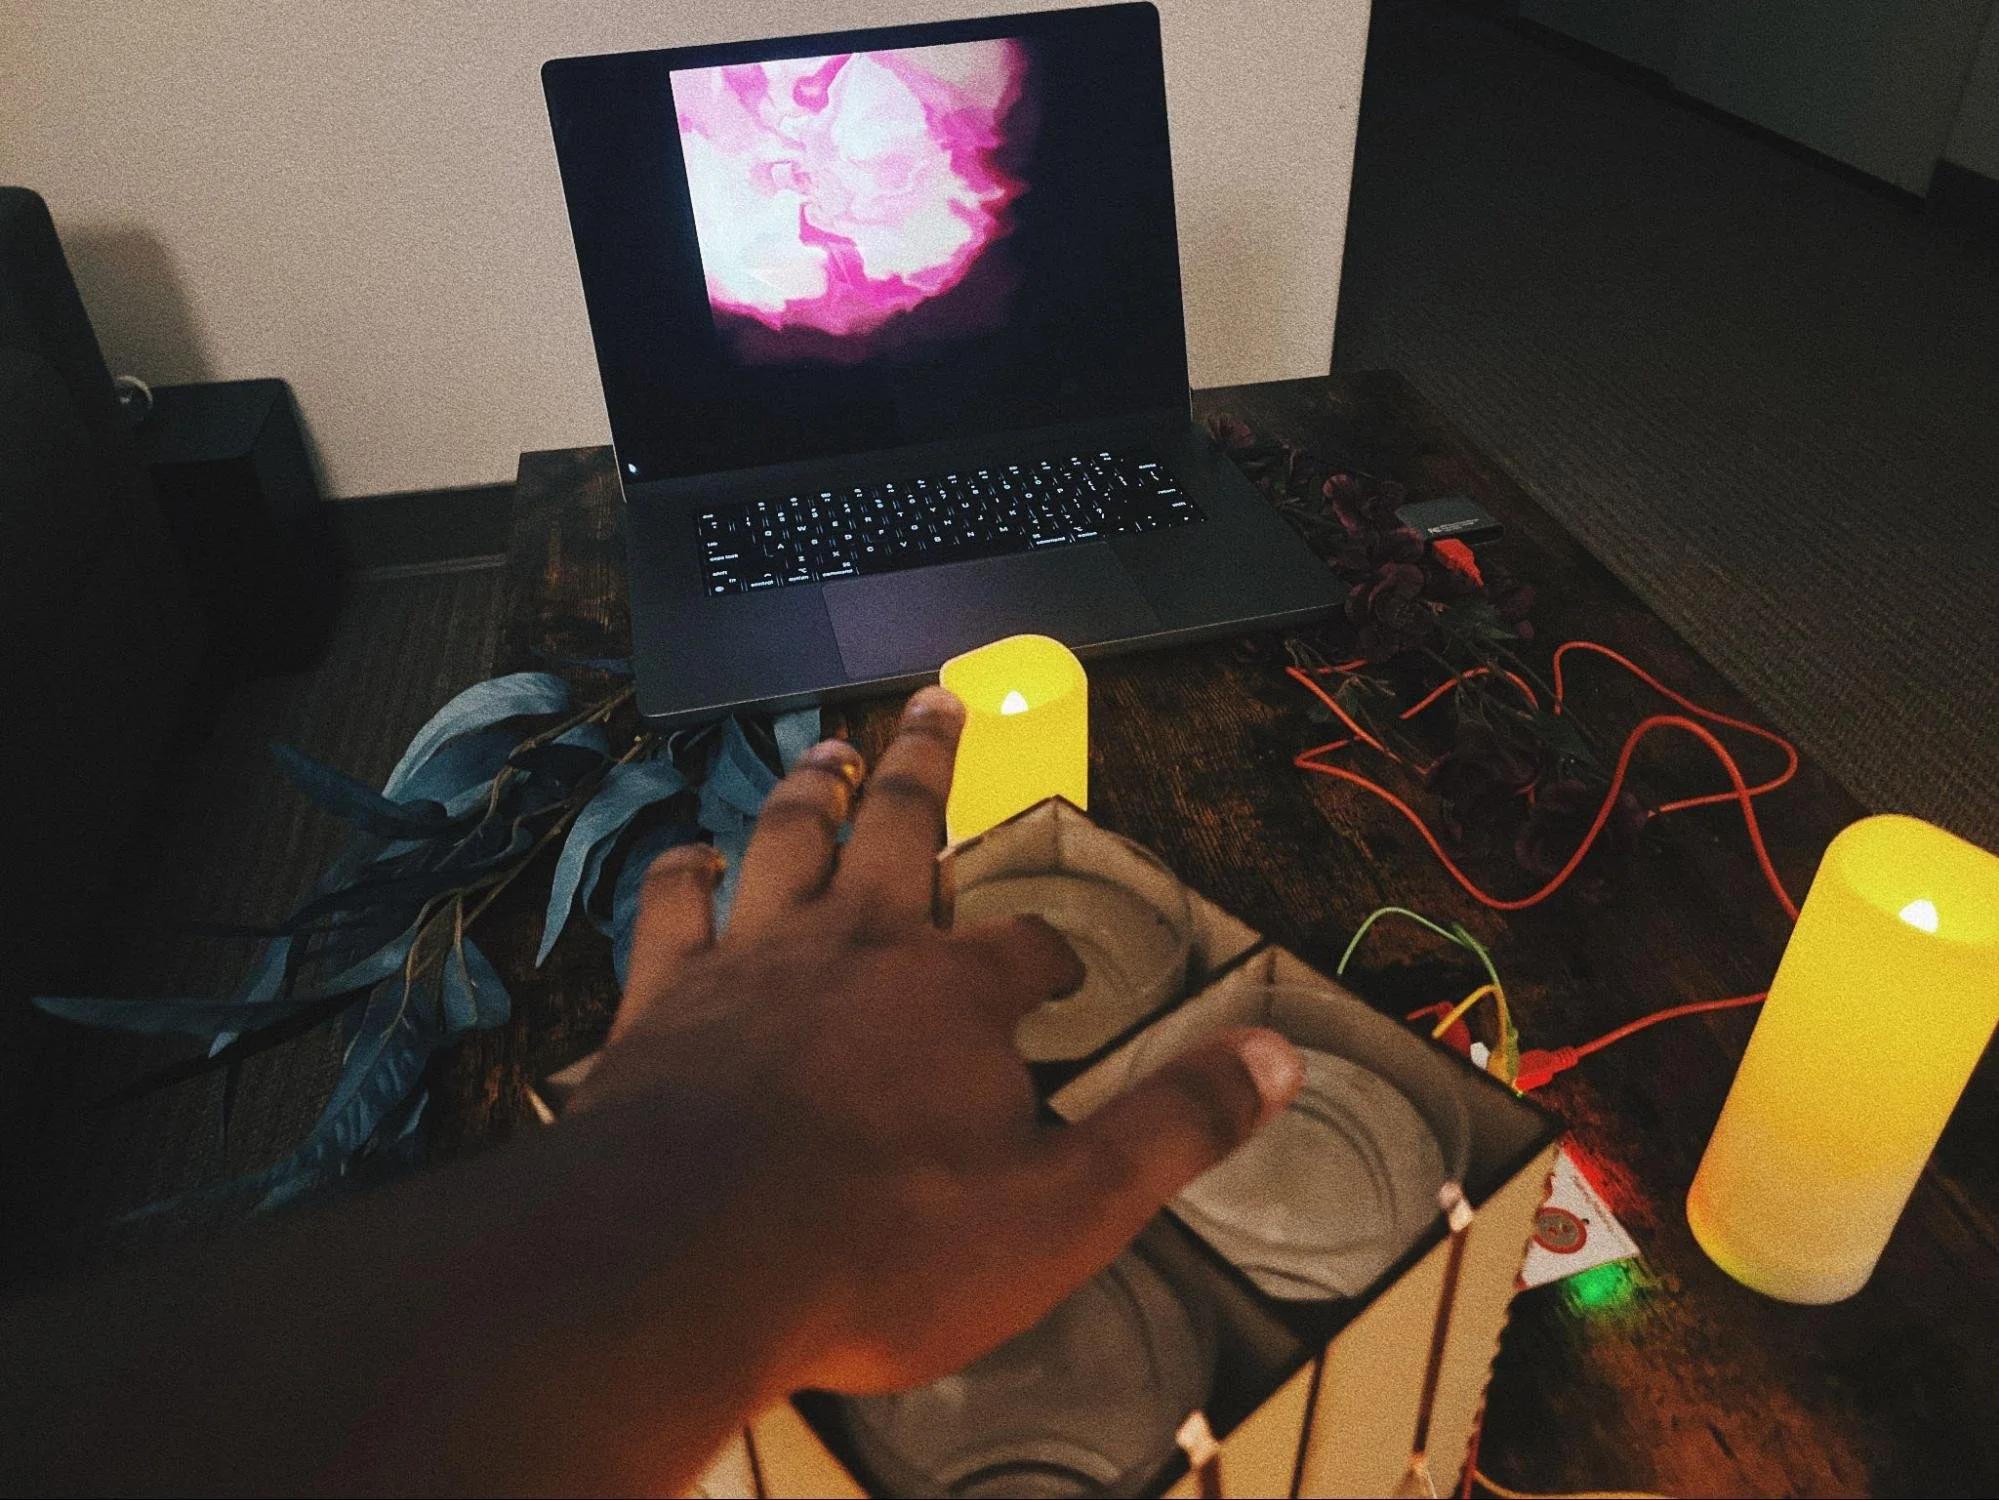
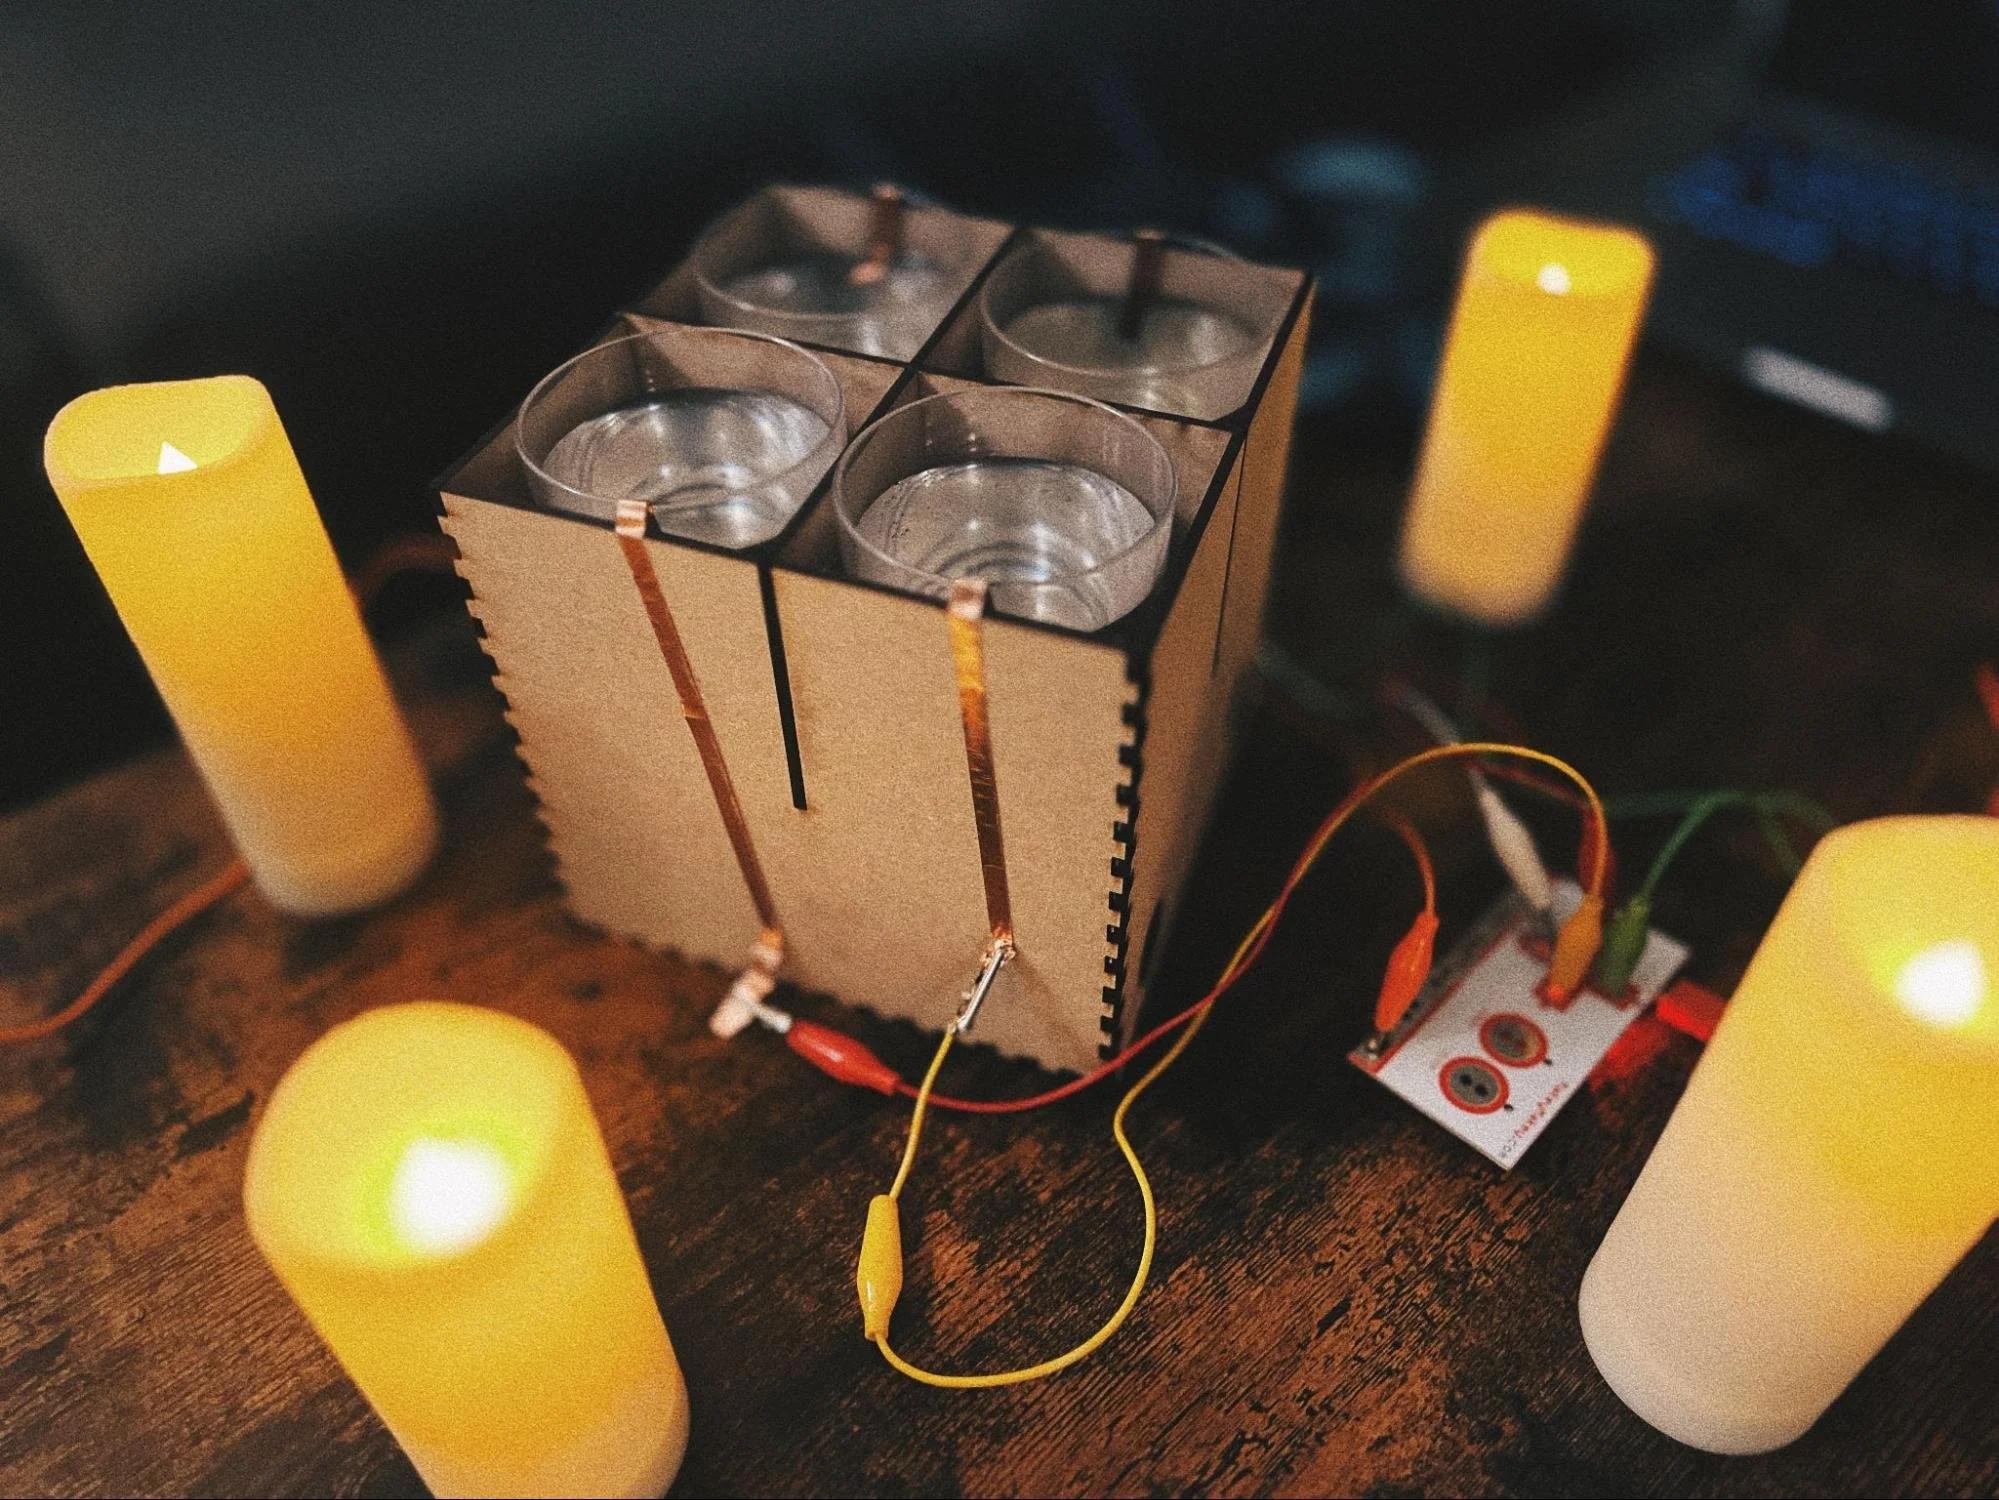
An interactive water circuit: four pools of water wired through a MaKey MaKey into TouchDesigner, where touching the water paints with color and plays chords.
Four water inputs are mapped to the 1, 2, 3, and 4 keys (look below for how to reprogram the MaKey Makey) and attached to the device with copper tape and in a laser cut box.
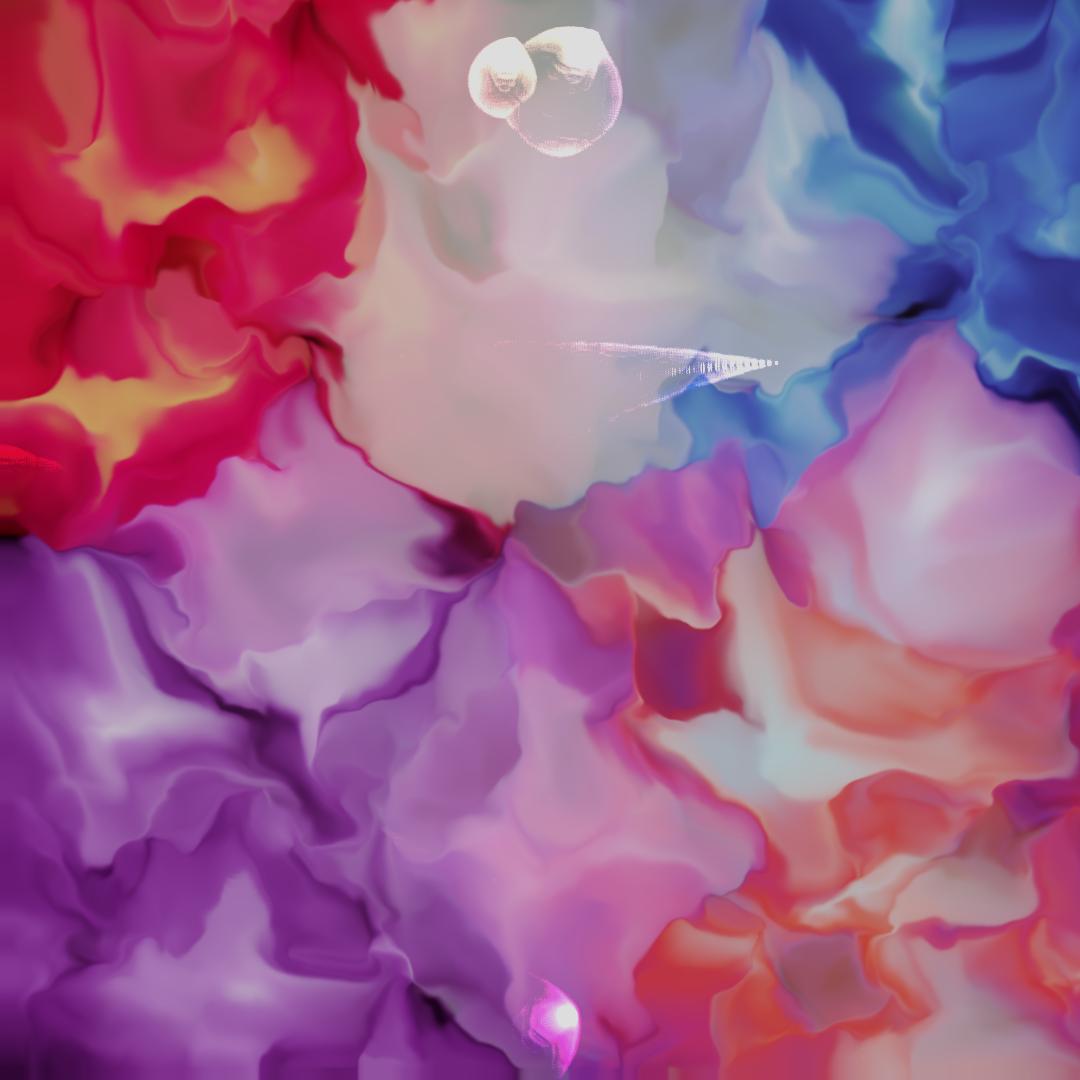
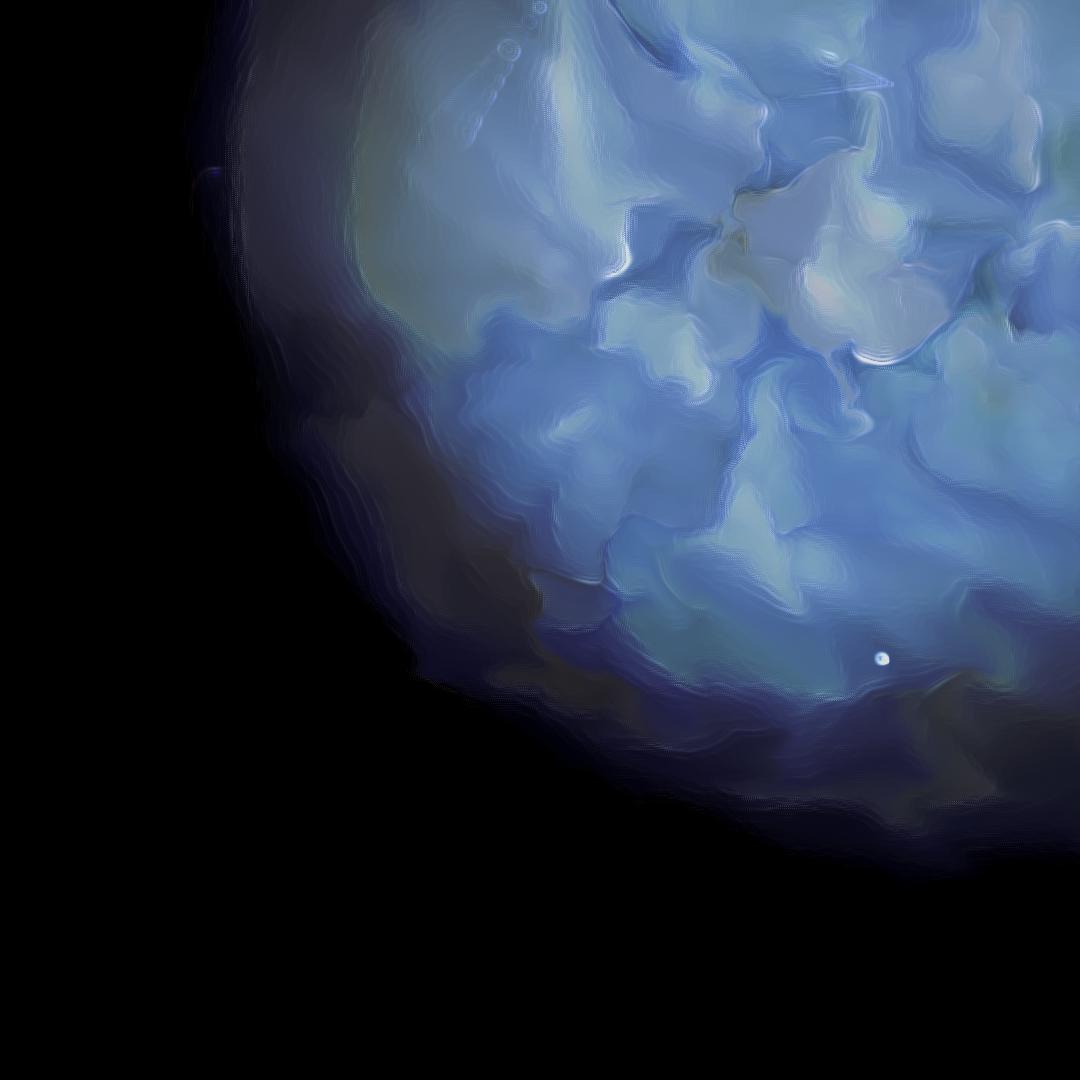
I was really intrigued by the idea of being able to use water as possible input into the computer to feed into some sort of simulation. I explored using MaKey MaKey and TouchDesigner to create a painting experience exploiting the conductive nature of certain liquids and create some sort of satisfying sounds along the way.
In this piece, the four corners are mapped to chords that should theoretically sound decent enough when played together. I am no expert in music theory but for future versions of this it would be really cool if the user was able to play different variations of the chords based on the relative location of the finger to the center of the water source.
Water inputs interact with a TouchDesigner and emulate water colors and trigger chord sounds.
TouchDesigner breakdown
Particles To Ripples
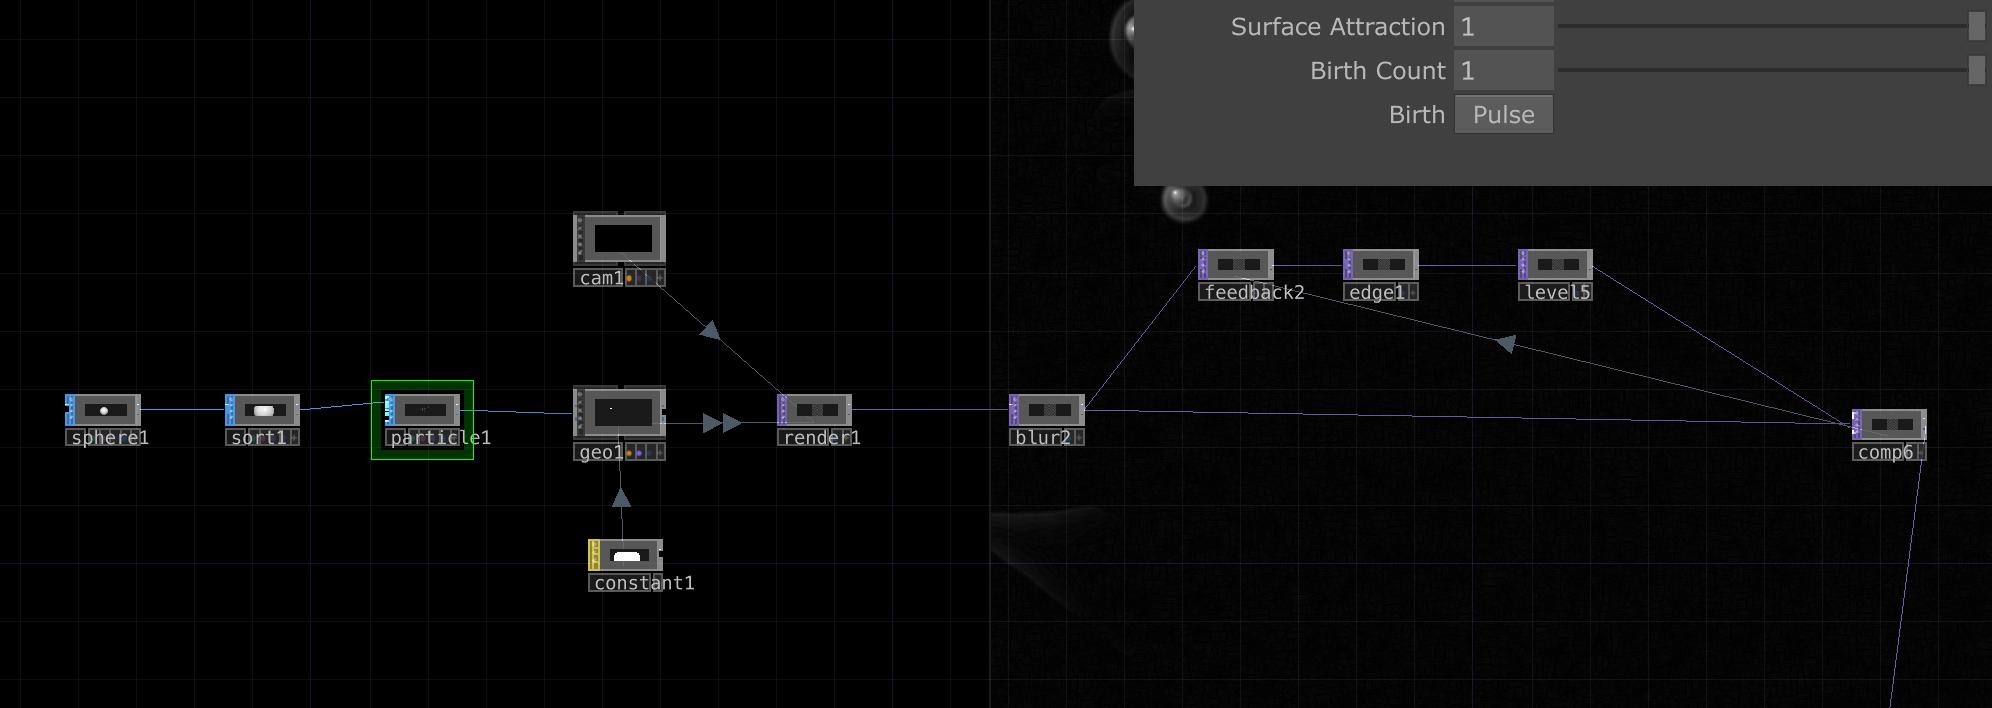
There is an underlying simulation that I added as kind of the devil in the details type of thing. I have a particle system with a low birth count and some wind forces that emulate the motion of some abstract ripples in the pond by some fishies.
In order to get the effect of the ripples themselves, I use a feedback loop (you can think of this as the for-loop equivalent of real time computation). In this feedback loop I am using an edge detection method that is added over a blur in order for the results to progressively get dimmer over time of the simulation results.

Making Audio Loops
This is a short one. When making an audio loop for something that is ambient — in my case it is the sounds of nature in the woods as the water from the everglades kisses against the rocks — it is important to make sure that there is a clean break from the end of the clip to the start of the clip. The way that I like to do this is by actually breaking the clip in half and realigning it such that the middle is the section that you have to do the surgery in. Then I make sure that there is enough buffer in the middle of the clip and then add a transition of constant power:
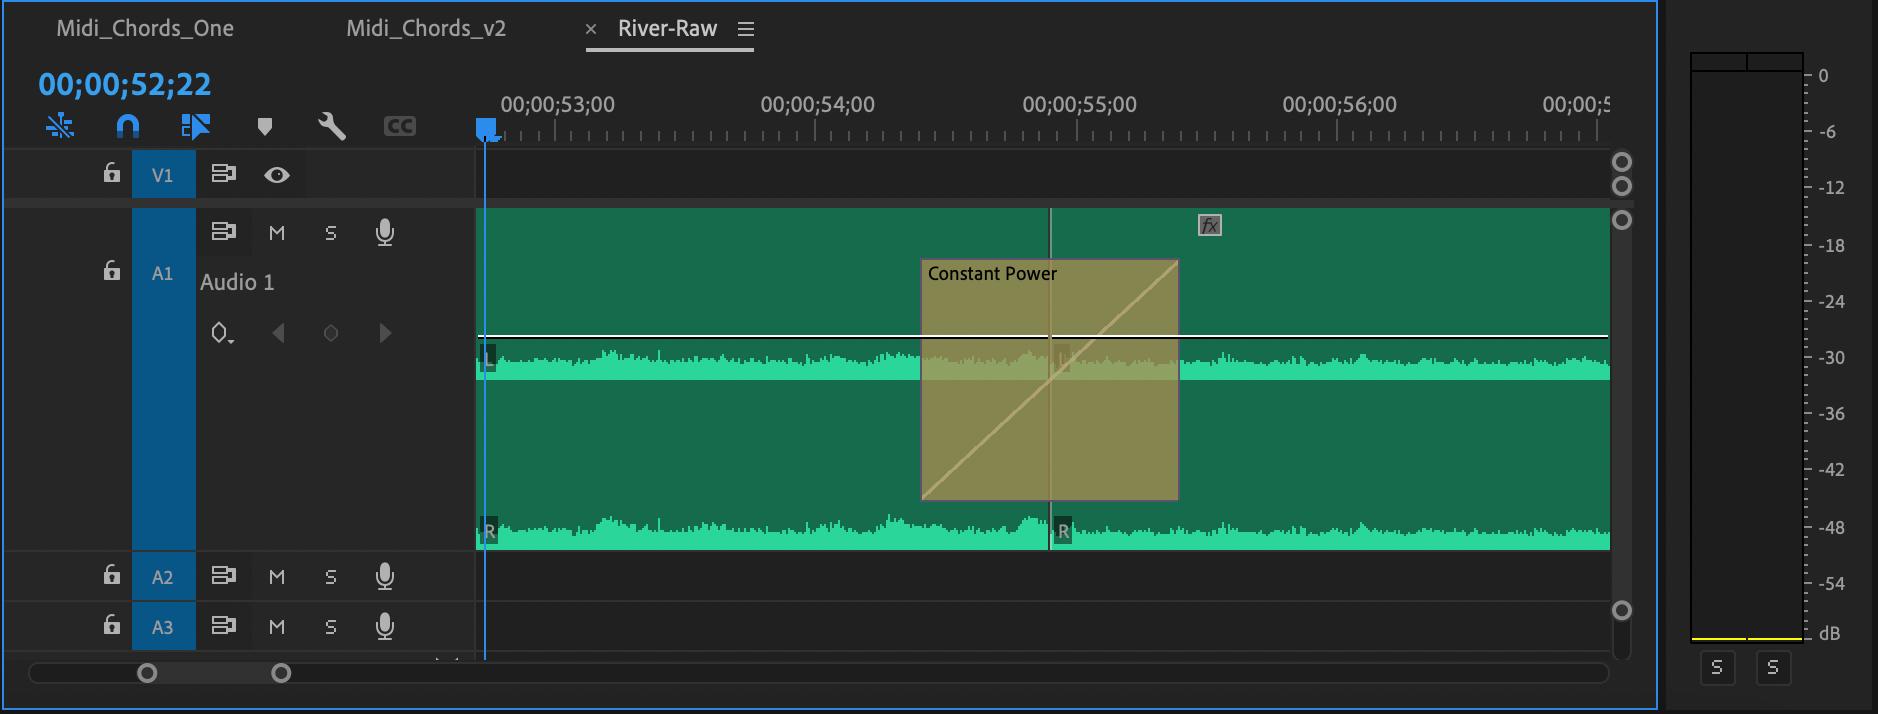
The middle of this re-assembled clip is actually where the original beginning and end are and I trimmed them down some more so that the transition would have more data to interpolate within the constant power transition. When we play this back, you can't tell that there is a cut anywhere. This is something that can be done in most audio editing softwares, but I am using Premiere Pro as that is what I am most familiar with for assembling clips.
The Noise
For the second component, I used a noise function that is partitioned into four quadrants of the 1080x1080 canvas. My goto noise of choice is Perlin, but I opted for a Simplex 3D noise for the purposes of this effect. I am used to setting effects that are simulated over hours or even days so Perlin would normally do the job. Although for this project, I put put my optimization hat on so the time complexity savings of Simplex made sense to try out as the visual results are comparable. Simplex noise scales to higher dimensions (4D, 5D) with much less computational cost: the complexity is O(n2) for n dimensions instead of the O(n·2n) of classic perlin noise. Below are the results of the same parameters (amplitude, harmonics, period, etc.) with the respective function in my scene.

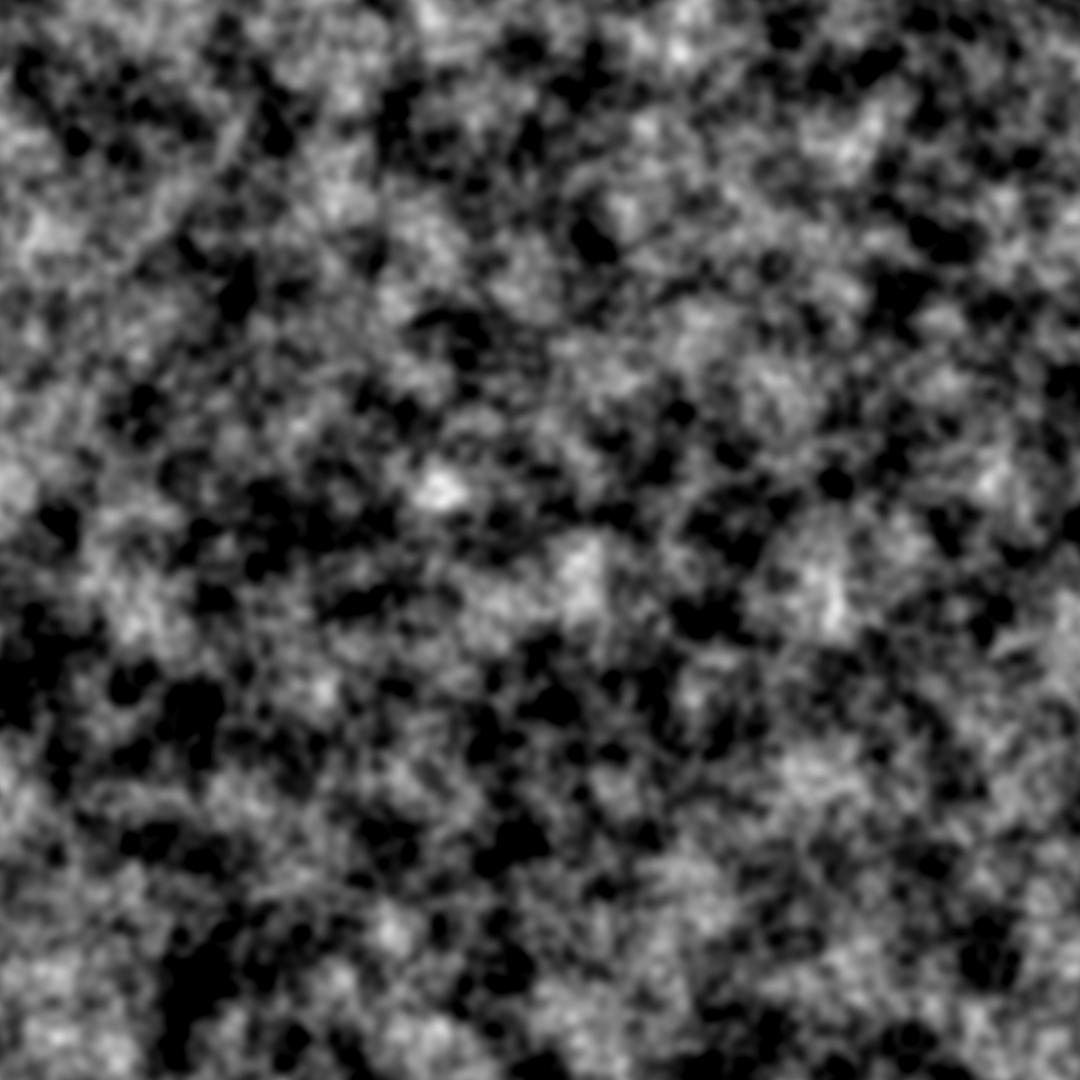
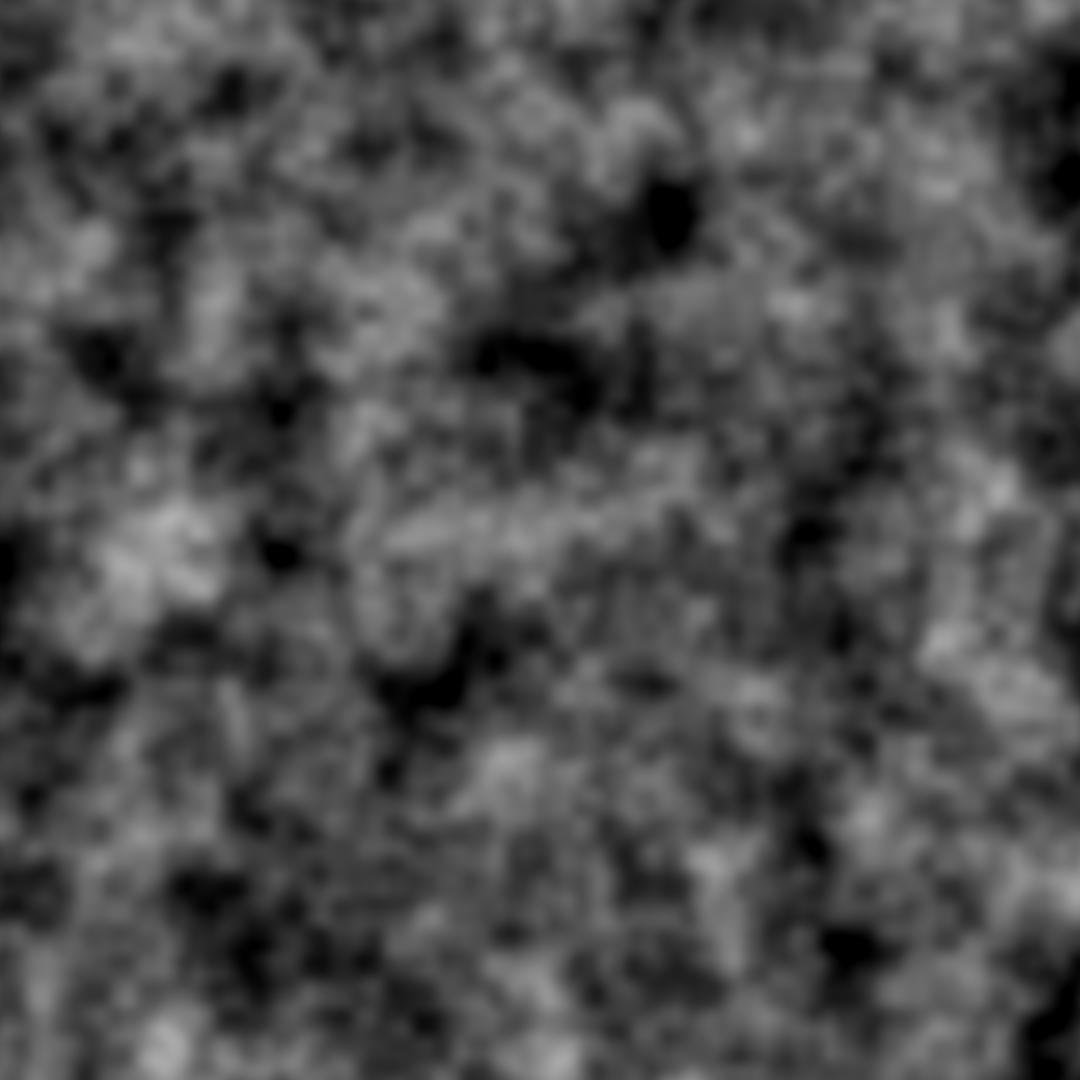
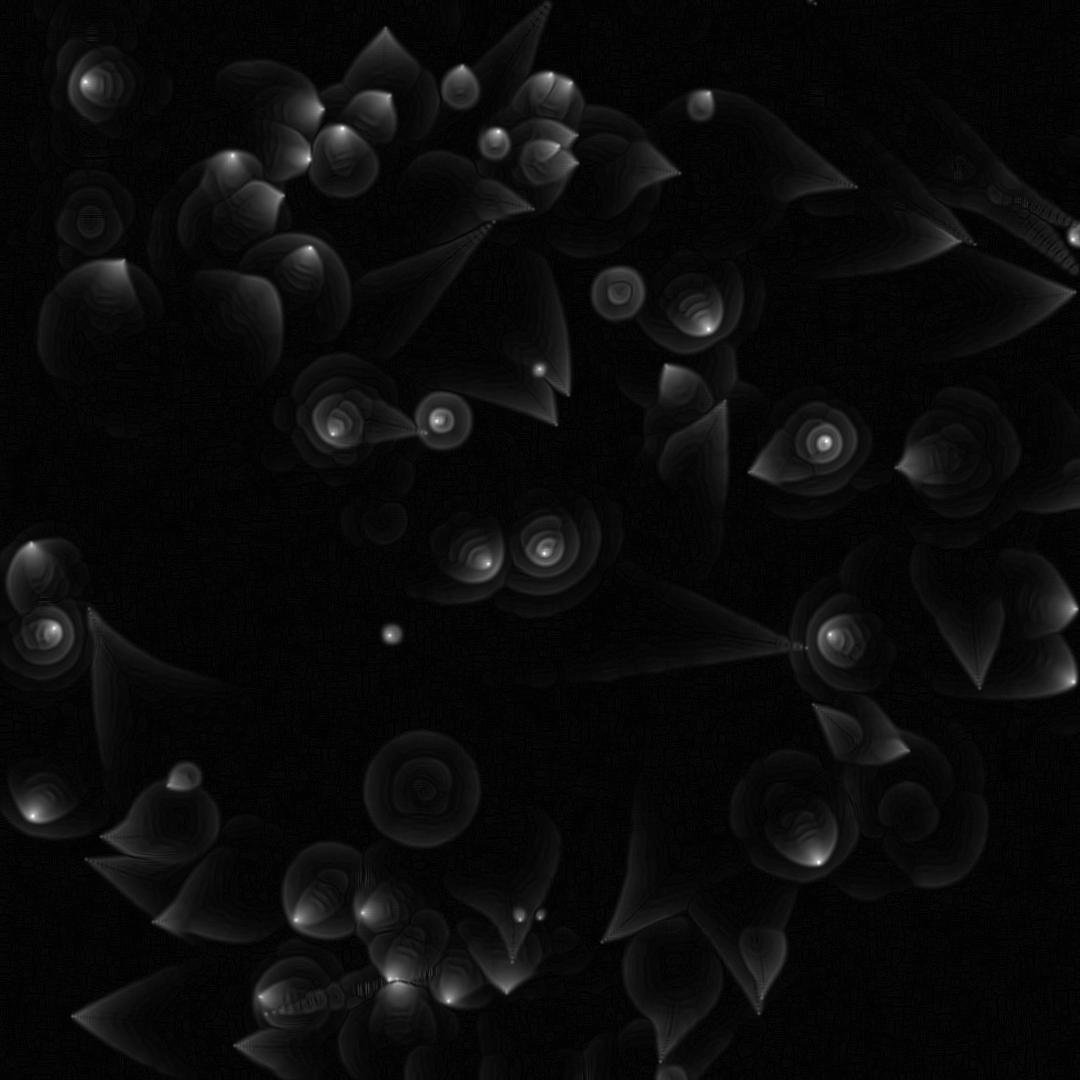
Perlin Noise: f(x) = a + smoothstep(x) · (a1 - a0) : for 0 ≤ x ≤ 1
Simplex Noise: (max(0,r2 - d2))4 ·(< Δx, Δy,... > · < grad x, grad y,…>)
I started writing more about this but realized that putting some more sources for interested ones to explore is best lol. Here are some more great investigations into the world of noises (also happy to nerd out with anyone that likes talking about this stuff):
Links:
- Simplex noise demystified
- Value Noise and Procedural Patterns: Part 1
- Programming! [EP1] - 2D Perlin Noise
Reprogramming MaKey MaKey
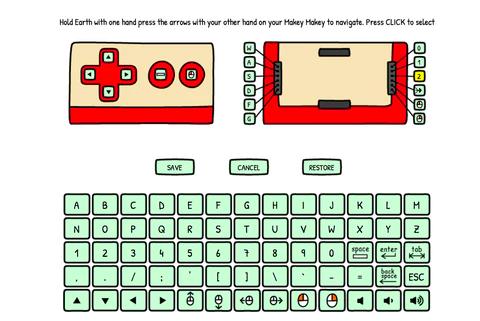
So there was this fantastic bug feature that I ran into in TouchDesigner where valid keys are the numbers 0-9, letters A-Z, and keypad 0-9. This meant that the up, down, left, and right keys that are automatically programmed into MaKey MaKey would not work with the simulation that I had built. Thankfully there is actually a really nice and easy way to program these keys to be whatever you want! These are actually so well programmed, I didn't need to install a single thing for any part of these steps. The only thing is that it has to be v1.2 or higher. The entire preprogramming procedure can be done in a browser and theoretically can do it all with your conductive hands :)
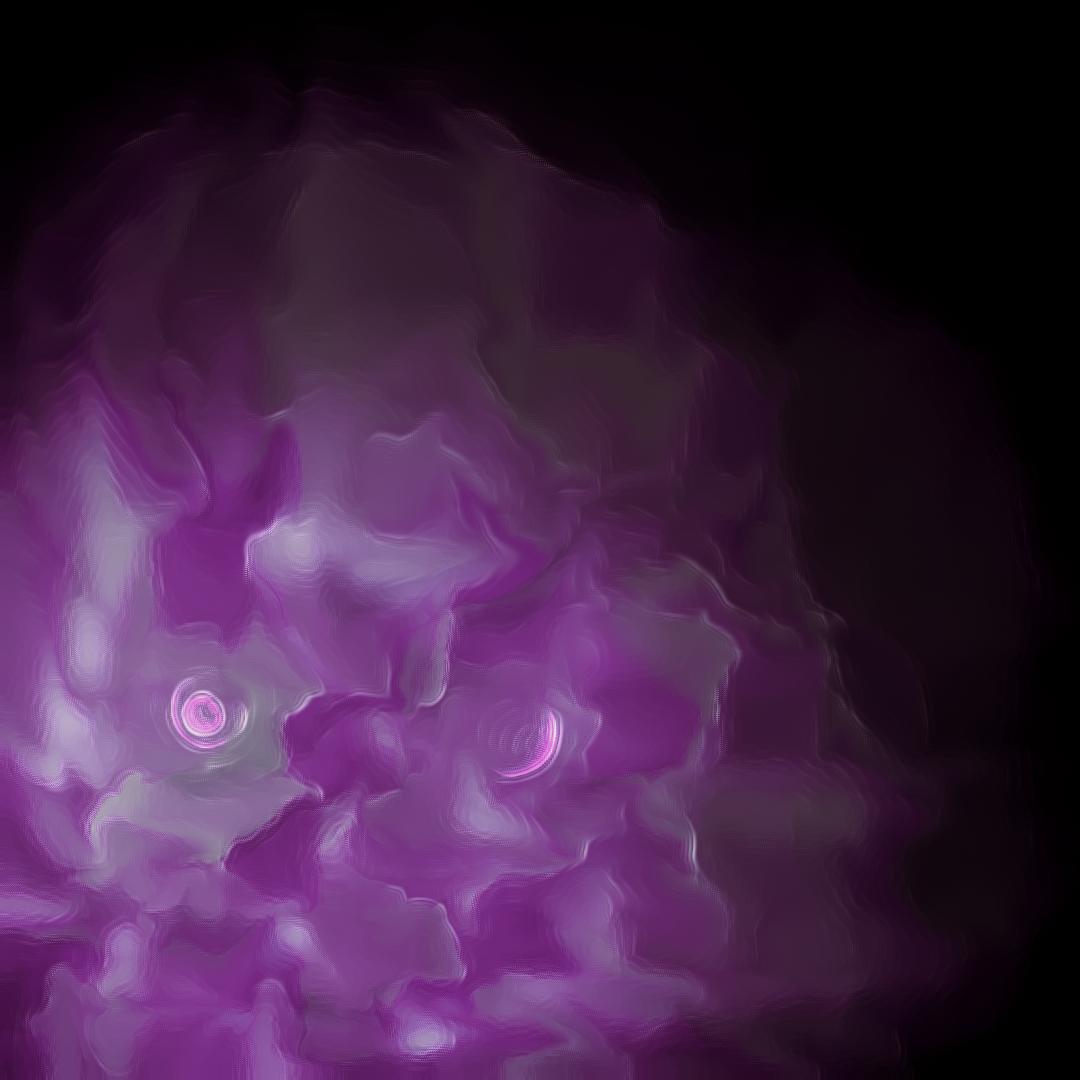
Image Courtesy of MaKey MaKey
The full walkthrough of these steps can be found here.
While doing this I also discovered that there is a BACKSIDE that has other keys pre-built into it. Not only that, you can control MOUSE MOVEMENT!! SO COOL. This opens up such avenues for future projects but I wish this was something I found out earlier. Take this information and run with it though.
The Slope
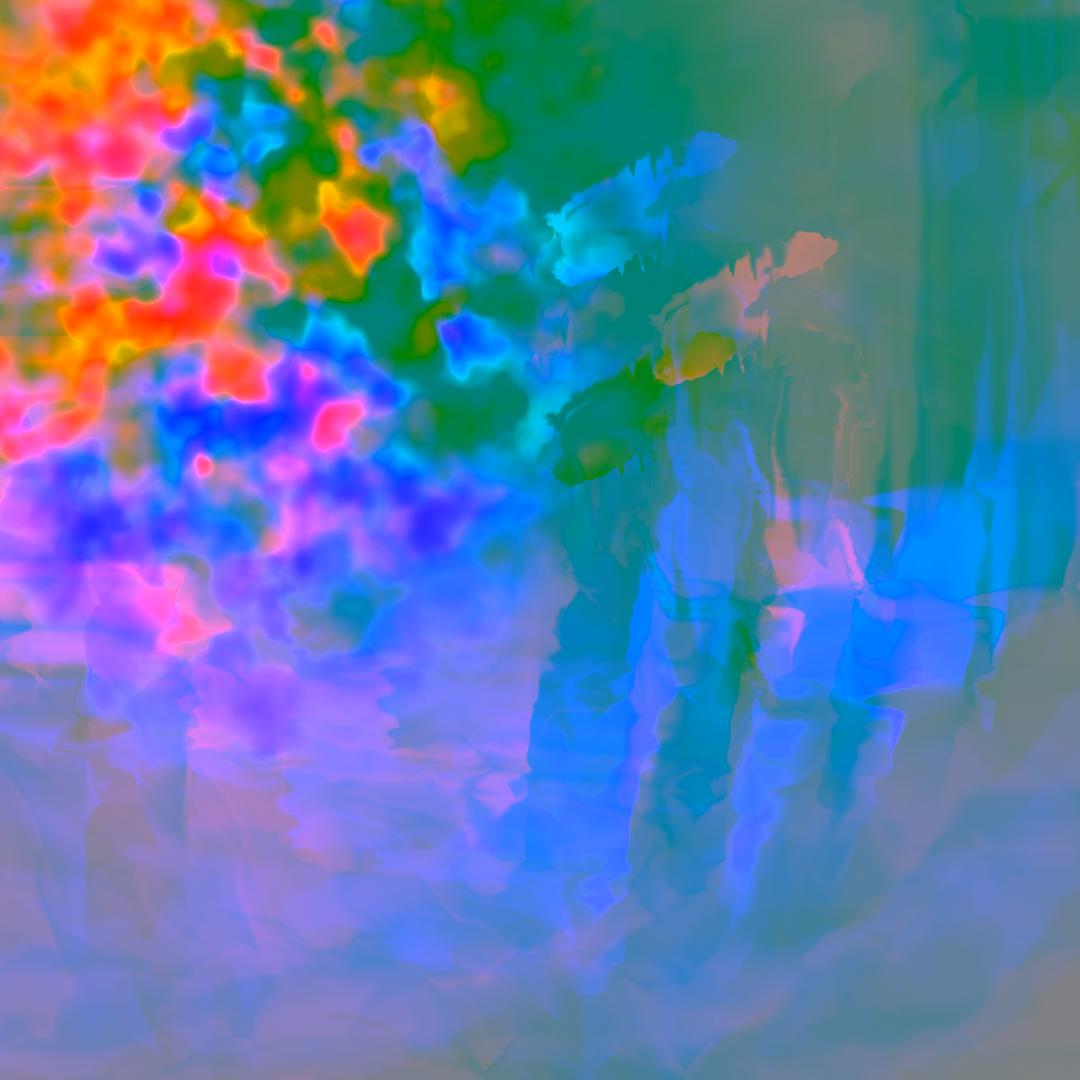
The next big part of this effect is the slope function which is basically calculating the value difference of each pixel's channel (RGB and Alpha if you want) value relative to its neighbor and mapping that on to a value of 0 to 1. The default RGBA pixel values range from 0 to 1. If the value is .5, it means that the neighboring values are equal to the pixel's value. In the red channel, values above .5 indicate a left-to-right increase, while in the blue channel, values above .5 indicate a bottom-to-top increase. For a clearer representation of negative numbers, it is recommended to switch the Pixel Format parameter to 32-bit float RGBA, set the Zero Point parameter to 0, and view the Normalized Split of the TOP view. Here is a more detailed expansion of what this function can do and all the wonderful things you can derive from it in your code:
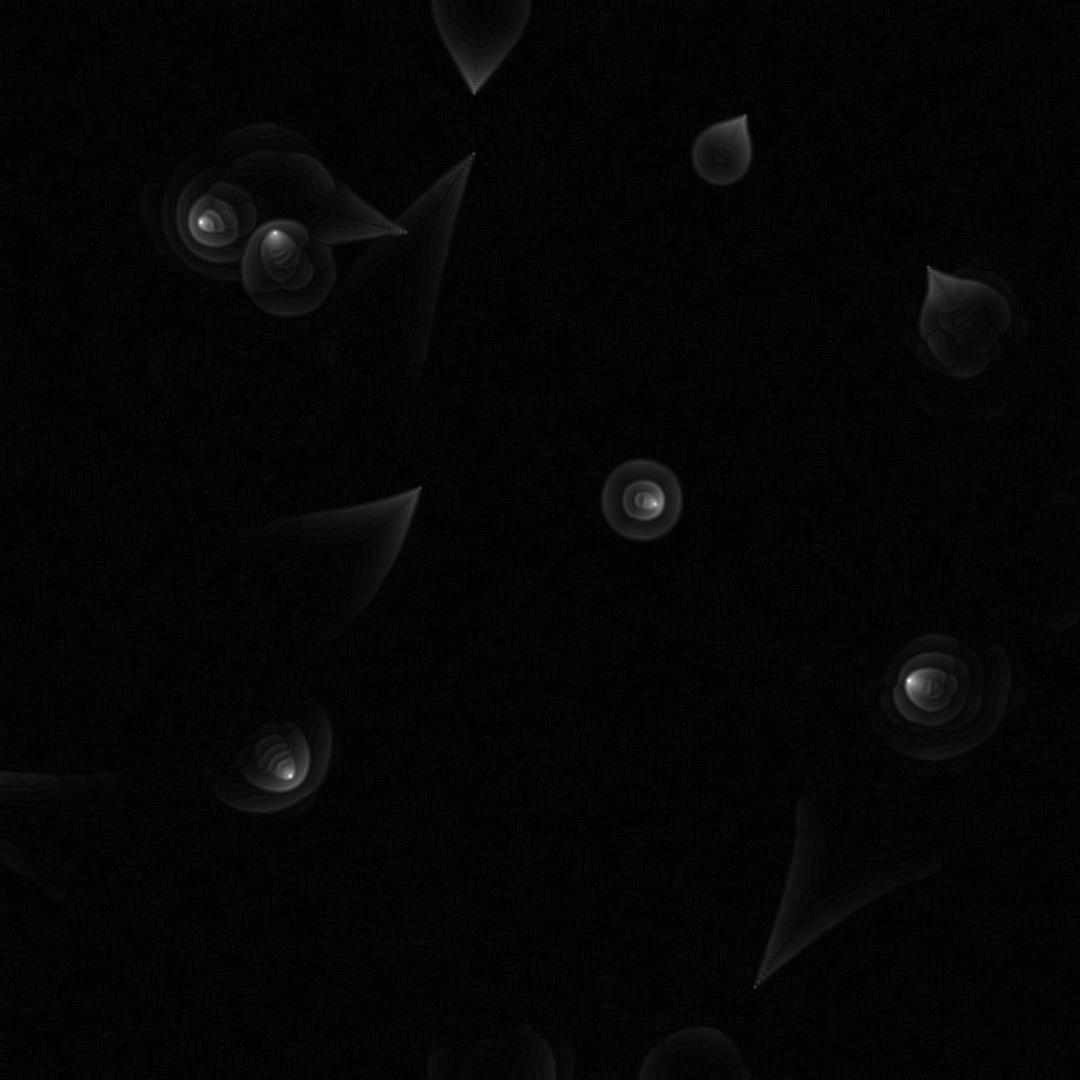
Individual quadrants are demonstrated below:
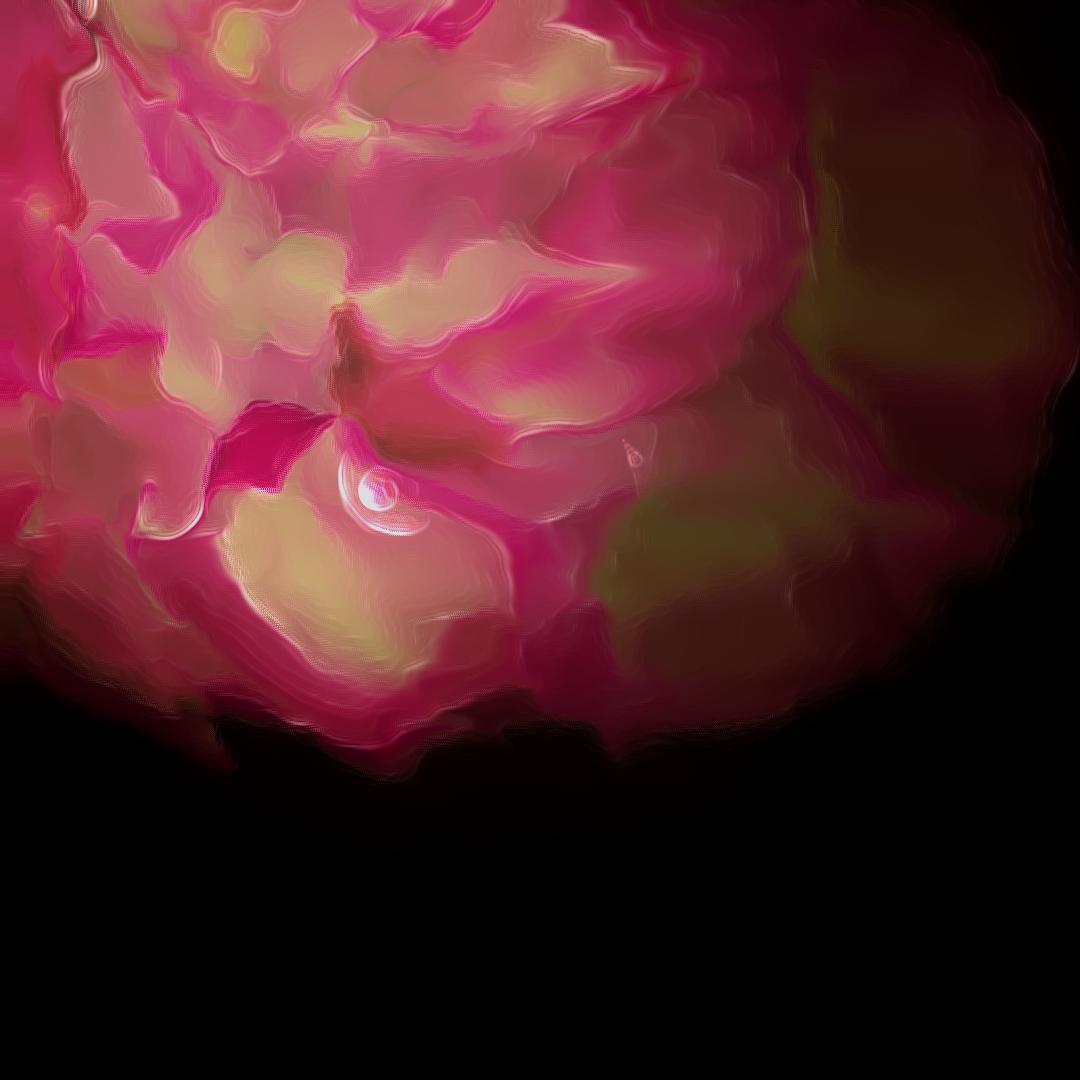
Something that is hard to capture with a couple of pictures is the fact that the slope is integral (yes, this is a math joke as well) to the effect dispersion when one of the quadrants is triggered. This is also happening in a feedback loop that makes some other adjustments to the HSV values of the normalized gradients in the slopes.